Your Comprehensive Guide to Custom Embroidery Digitizing
.webp)
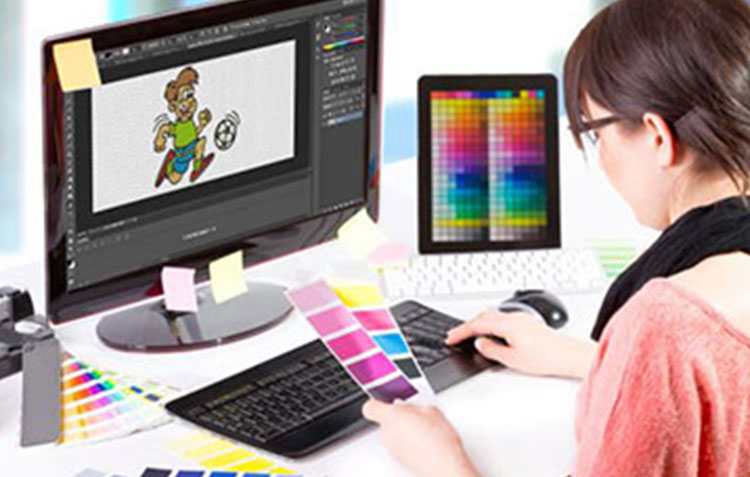
Custom Embroidery Digitizing is a special and creative way to personalize clothing, adornments, and more. By converting your designs into digital records that can be studied by embroidery machines, you'll be able to bring your ideas to life in a whole new way. In this comprehensive guide, we are going take you through the process of custom embroidery digitizing step by step, from understanding the essentials to mastering progressed strategies.
Understanding Custom Embroidery Digitizing
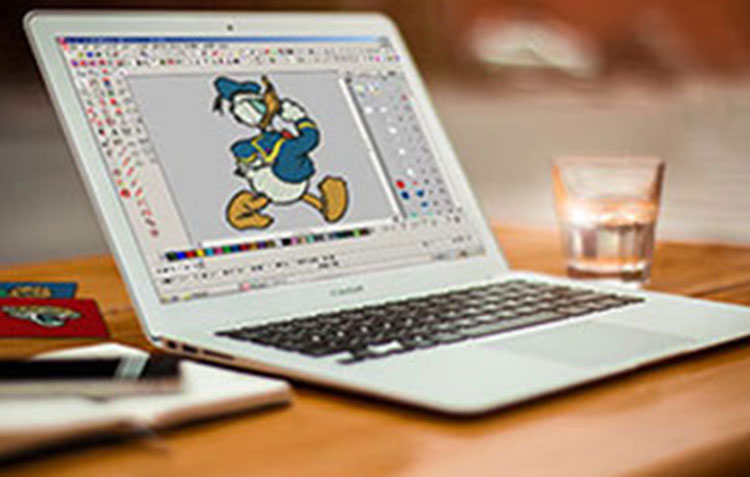
Embroidery digitizing changes artwork into a format an embroidery machine can translate, effectively guideline it on executing the plan stitch by stitch. This change process is significant because it bridges the gap between an inventive idea and its tangible embroidered result. To explore this travel successfully, foundational knowledge of embroidery standards and nature with the digitizing program is essential. The digitizing process not only requires technical ability but also a keen understanding of the artwork's nuances to ensure constancy within the embroidered result. Mastery in digitizing involves comprehending how diverse fabrics and stitch types are associated, affecting the by and large tasteful and durability of the embroidered plan.
Choosing the Right Software for Embroidery Digitizing
Selecting the optimal program is a crucial step in the embroidery digitizing prepare as it directly impacts the efficiency and quality of your output. The market offers a variety of digitizing programs, each with interesting functionalities tailored to different mastery levels and plan prerequisites. Well-known choices include Wilcom for its comprehensive toolset, Bring forth Embroidery for user-friendly interfaces, and Brilliance for its versatility over diverse stages. When deciding, consider your experience with digitizing, the complexity of your designs, and your budget. Some programs offer free trials, allowing you to explore their features before committing. Furthermore, look for a program that gives robust support and learning resources, which can be important as you refine your digitizing skills. Making an informed choice in this stage will set a strong establishment for your digitizing projects, ensuring smoother workflow and higher-quality results.
Preparing Your Design for Digitizing
Before embarking on the embroidery digitizing journey, your artwork requires careful planning. Start by refining the design for clarity, ensuring no detail is as well complex for the digitizing process. Simplify complex areas and guarantee lines are distinct and recognizable. Resize your design to match the dimensions of your aiming embroidery area, keeping up the aspect ratio to avoid distortion. Also, select colors thoughtfully; although the embroidery program and machines can handle a broad range, choosing tones that translate well into thread color is crucial. This stage is almost fine-tuning your design for the digitizing program, making sure it's optimized for the best possible change into stitches. Paying attention to these details at this stage can significantly affect the ease of digitizing your design and the quality of the final embroidered product.
Step-by-Step Guide to Digitizing Your Design
Begin by opening your chosen embroidery digitizing program and import your prepped design file. First, use the software's tracing tool to outline your design accurately, ensuring all elements are captured. Next, select the appropriate stitch types for different design elements; use glossy silk fastens for borders and fills for larger areas, for instance. Adjust the stitch thickness and direction according to the fabric you will be embroidering on, to prevent puckering or gaps within the design. Assign thread colors that match your original design, using your software's color palette. Finally, preview your digitized design utilizing the software's simulation feature to catch any potential issues. Save the file in an organized compatible with your embroidery machine, ready for testing on fabric. This guide ensures your design moves smoothly from a digital concept to an embroidered reality, leveraging the software's capabilities to achieve desired results.
Testing and Adjusting Your Digitized Design
After digitizing your design, it's crucial to conduct a trial run on a piece of scrap fabric that closely mimics the final product's fabric. This test will reveal any areas that require adjustment, such as stitch thickness or thread tension issues. Observe how the design embroiders in terms of alignment and general appearance. If the design doesn't adjust properly or if there are gaps between stitches, return to your digitizing software to make the necessary corrections. You'll need to stitch sort or alter the design's layout to achieve the desired effect. It's moreover advisable to try different thread colors on your test piece to guarantee they complement each other as expected. Repeat the testing and prepare as needed, refining your digitized design until you achieve a result that meets your standards. This iterative process is essential for idealizing your embroidery project.
Advanced Techniques in Embroidery Digitizing
As you become capable in the art of custom embroidery digitizing, you'll elevate your designs by delving into advanced techniques. Testing with various stitch effects, such as angle fills or the intricate shading achieved through mixing thread colors, can add depth and texture to your creations. Joining a strength stitch like the hand-stitched appearance of a cross-stitch or the raised dimension of 3D puff stitches allows for particular design elements that stand out. Besides, mastering the use of patching - the sequence in which the machine completes the design - optimizes efficiency and enhances the final product's quality by reducing thread trims and hop stitches. Leveraging these advanced strategies opens up new roads for creativity and advancement in your embroidery projects.
Conclusion:
Setting out on the journey of custom embroidery digitizing unlocks a world of creativity and personalization. By following the steps outlined in this guide, from choosing the correct program to test your design, you're well on your way to changing your special ideas into embroidered masterpieces. Remember, the key to success in digitizing lies in practice and patience; refining your skills will open up perpetual possibilities. Whether you're creating custom attire, gifts, or decorations, the art of embroidery digitizing allows you to leave a personal stamp on your creations, making them truly one-of-a-kind. Keep exploring, experimenting with advanced procedures, and pushing the boundaries of your creativity. Happy digitizing!