The Easiest Way to Screen Printing Your Own Shirts at Home
The Easiest Way to Screen Printing Your Own Shirts at Home
Overview of screen printing:Screen printing is a method of printing, it is intimidating at first, but it is easier now. Also, it is possible now to set up a printing area in your home by your handmade printing. I will let you know the major steps of screen printing below. It is the method in which ink is applied to the surface of the material to be printed. The image to be printed is photographically transferred to a very fine fabric or material.
It is very important to know what the screen printing services actually are. It is introduced in China first. After that, it was adapted by other Asian countries. It was largely introduced in the 18th century. Screen printing is actually an invention of Samuel Simon. In 1907 he received the first patent for silk screen template in England. It is also known as “serigraphy” , which means to create an image on some kind of material as paper or fabric.
Method of screen printing:
-
• Frame and screen (easily available at a local art store)
• A bulb (250watt)
• Photosensitizer and emulsion
• Latex gloves
• A T-shirt (where to apply or try)
• A pitch black room
• Squeegee
• Small piece of cardboard
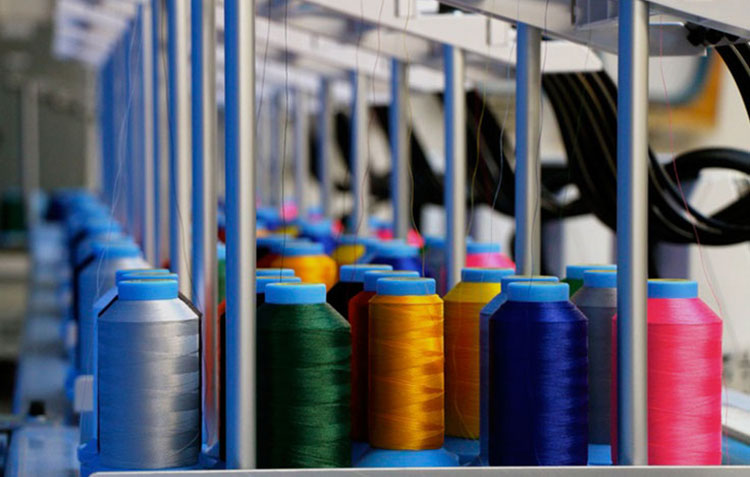
• Silkscreen fabric ink
You just need to follow 6 steps which are detailed given below.
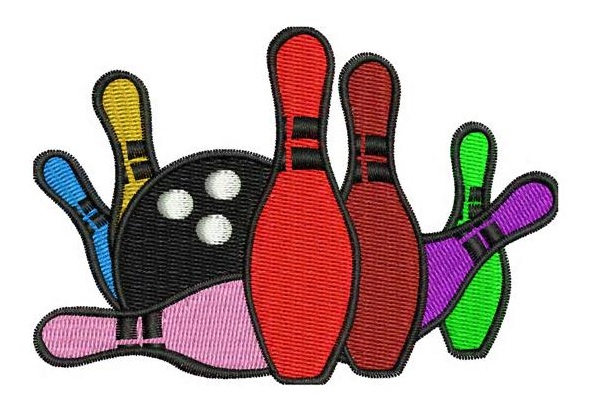
Image:
You need one of your desired images which you want for screen printing. Start with some simple image instead of a lot of thin lines. You need a solid black image, the reason of that its actual purpose is to block the light. Make sure your picked images will be burnt into the emulsion in step four.
2nd step:
The emulsion comes in two parts, one is the sensitizer and another one is an emulsion. You need to mix both together according to the direction of the bottle. Keep down your image in a bag/ garbage bag. Next, you have to pour some emulsion mixture on the screen, and carefully smeared with a knife. Repeat this process until the screen is painted.
3rd step:
The time comes to expose the screen to light, keep down the frame and screen. Make it sure the black surface should be on the top and screen side must be down. Tape up the transparency down with scotch tape or lay a piece of glass over it. Screen printed services are so easy to use actually. You have to move your lamp about one to two feet above from the screen. With 250 watt bulb, angle a lamp and leave the room. After 15 to 20 minutes, return to the room and carefully pull up the transparency. Faint blue lines on the image are burned into the screen. Overexposure will make the image bleed, carefully examine.
4th step:
Spray your screen with cold water form a sink or shower head. You just need to continue to spray on that until you can see through clearly. Lightly hold up the screen, if it exactly looks like your transparency it’s almost ready then.
5th step:
On a flat surface lay your shire, piece of cardboard inside the shirt underneath the area you want to print. You just need to pour a bit of ink across the top of the screen. With the help of squeegee make one smooth movement down the screen. Lifts up the screen pull the cardboard out, you are done. Wash the ink off and dry the fabric. Screen printing services are easy to use and familiar with the up to date designs. For more information or placing an order please make a call or visit the website.