What is a DST file for embroidery?

Embroidery has evolved significantly over the years, transitioning from a manually intensive craft to a highly digitalized art form. One of the keystones of this digital transformation is the DST file, a format that has become synonymous with machine embroidery. But what exactly is a DST file , and why is it so crucial for embroidery projects? This blog post aims to demystify the DST file, guiding you through its importance, preparation, conversion, and utilization in embroidery projects.
Decoding the DST File
The DST document, a contraction for Information Fasten Tajima, is a particular weaving record design created by Tajima, an innovator in the weaving machine industry. This configuration catches machine weaving guidelines, specifying each join's sort, variety, and hop order, which is important to carefully execute a plan. It's distinct from conventional graphic formats as it encodes instructions in stitches rather than pixels or vectors, making it ideally suited for directing embroidery machines in their task. This specialized nature ensures that each design is realized with precision on the fabric, reflecting the envisioned pattern with accuracy.
Why Choose DST Files for Your Embroidery Projects
Opting for DST files in embroidery projects offers unmatched benefits due to their universal compatibility and precision. These files are widely accepted by a broad spectrum of embroidery machines, ensuring seamless transitions from design to stitch without the hassle of multiple file conversions. The precision of DST files facilitates the faithful reproduction of your envisioned design, maintaining the integrity of intricate patterns and ensuring the final embroidery piece mirrors the original concept. This widespread support and precision make DST files a preferred choice, streamlining the embroidery process and enhancing the quality of the finished product.
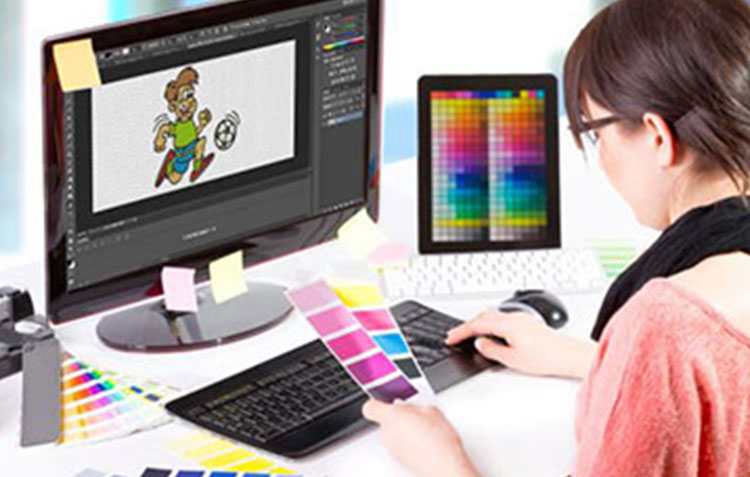
Preparing Your Design for Conversion to a DST File
To ensure your design is ready for DST conversion, begin by selecting or crafting a design with your preferred graphic design tool. Aim for simplicity in your initial projects to avoid complexities during stitching. Next, decide on the color scheme for your embroidery. Though DST files won't store these details, having a color plan is crucial for the embroidery phase. Also, carefully consider the dimensions and positioning of your design. These elements influence the stitching sequence and can significantly impact the aesthetic of the final piece. This preparatory stage is pivotal in smoothing the transition from a digital design to an exquisite embroidered artwork.
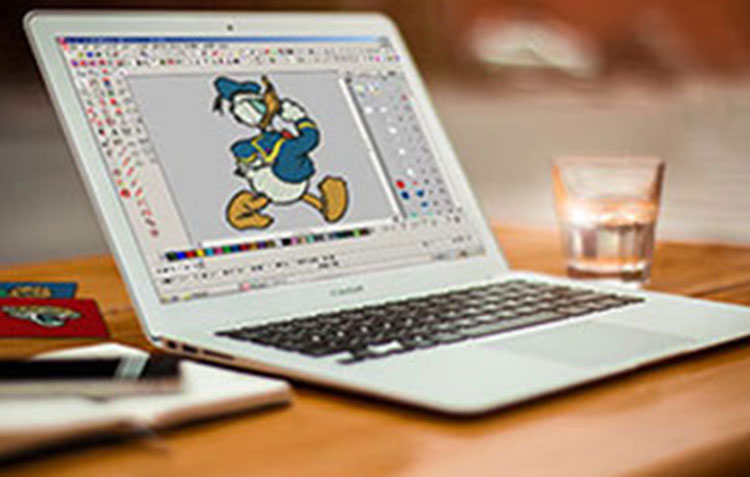
Converting Your Design into a DST File
To change your plan into a DST record, start by stacking your unique plan into viable weaving programming. This step is pivotal as it overcomes any barrier between a computerized realistic and a joint prepared design. Inside the product, you'll have to change different boundaries like the plan's size, line types, and thickness to match your weaving machine's determinations and your venture's requirements. In the wake of tweaking these settings, select the DST record design for your result and start the transformation. This cycle changes your visual computerization into a progression of join guidelines and orders custom-made for weaving machines. When the change is finished, save the recently made DST record and guarantee you have reinforcement for any future changes. This change step is crucial in setting up your plan for effective machine weaving.
Loading and Using Your DST File in an Embroidery Machine
To start embroidery with your DST record, move it to your embroidery machine utilizing a USB drive, PC association, or memory card, contingent upon your machine's capacities. Adhere to your machine's directions to pick the right band size and appropriately place your texture. Before beginning, on the off chance that your machine offers a plan review, make the most of it to guarantee the plan lines up with your assumptions. Start the weaving system by squeezing the beginning button on your machine. Watch out for the weaving as it advances, prepared to make changes if necessary. This cautious readiness and checking work with smooth progress from computerized plan to weaved show-stopper.
Tips for Success with DST Files
To optimize your work with DST files, consider these strategies for enhanced efficiency and outcomes:
Conduct a thorough design review within your embroidery software to identify and rectify any potential issues before conversion to DST format. Be mindful of your embroidery machine's specifications, such as the maximum number of needles it supports and its capabilities for color changes, to ensure compatibility and avoid errors.
Prior to finalizing your project, run trial embroidery on a piece of fabric similar to your final material. This test run allows for any necessary tweaks to the DST file or embroidery settings.
Maintain an organized system for your DST files, categorizing and naming them clearly. This organization will streamline your workflow and reduce time spent searching for specific designs when needed.
Conclusion
In wrapping up, DST files stand as a crucial element in the realm of digital embroidery, offering a seamless transition from concept to creation. They not only facilitate the realization of intricate designs with remarkable precision but also ensure compatibility across various embroidery machines. Embracing DST files means tapping into efficiency and quality in your embroidery projects. As you journey through the process of converting and utilizing these files, remember the importance of thorough preparation, understanding your machinery's capabilities, and the value of practice runs. By keeping these principles in mind and exploring the full potential of DST files, you're well on your way to producing exquisite embroidered pieces that bring your artistic visions to life. Embrace this digital tool and let your creativity flourish.