Step By Step Tutorial To Print Color Separations
Right here we will make you discuss a tutorial to print color separations! To duplicate shading and consistent tone pictures, printers generally separate craftsmanship into four plates that are known as process hues as one plate for every one of the cyan, fuchsia, yellow, and dark bits of the picture. You can likewise incorporate custom inks called as spot hues. For this situation, a different plate is made for every spot shading. At the point when inked with the fitting shading and imprinted in register with each other, these hues join to imitate the first fine art. The way toward partitioning the picture into at least two hues is called shading isolating, and the film from which the plates are made is known as the detachments.
Step by Step Method to print color separations:
Before you print color separation from Illustrator, it's a smart thought to play out the accompanying prepress errands:
- Set up shading the board, including aligning your screen and choosing an Illustrator Color Setting
- Delicate verification of how shading will show up on the planned yield gadget. Pick Window > Separations Preview to see how the shading detachments will look.
- On the off chance that the record is in RGB mode, pick File > Document Color Mode > CMYK Color to change over it to CMYK Mode.
- On the off chance that your work of art contains shading mixes, upgrade them so they print easily (without discrete groups of shading).
- In the event that your work of art requires catching, set up fitting overprinting and catching
- In the event that your work of art contains territories of straightforward, covering hues, review which zones will be influenced by straightening and note which smoothing choices you need to utilize.
- Utilize the Live Color exchange box to the all-inclusive believer and diminish hues. For instance, on the off chance that you need to change over a procedure shading report to a 2 color spot archive utilize the Assign segment of Live Color, and determine which hues you need and how they are doled out to existing hues.
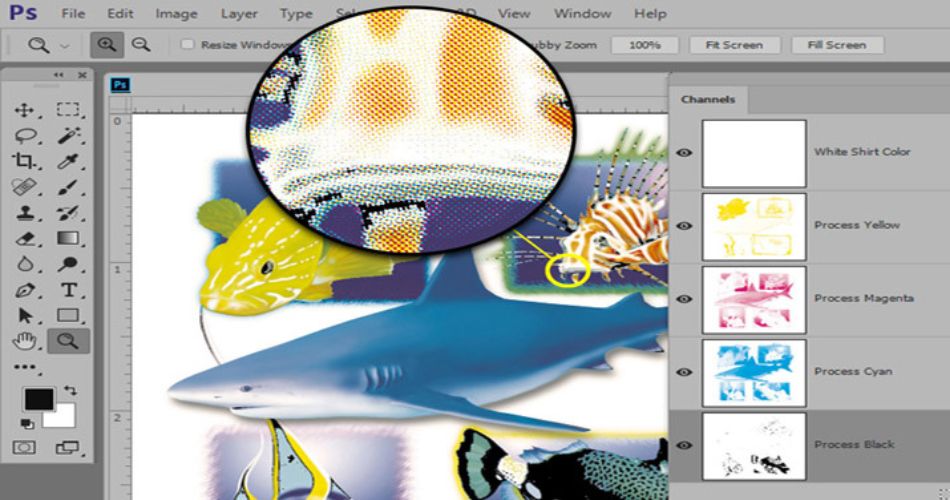
- You can review color separations and overprint utilizing the Separations Preview board.
- Reviewing partitions on your screen gives you a chance to see spot shading objects in your archive, and check the accompanying:
- Reviewing partitions gives you a chance to recognize territories that will print as rich dark, or procedure dark (K) ink blended with shading inks for expanded haziness and more extravagant shading
- You can see how mixing, straightforwardness, and overprinting will show up in shading isolated yield. You can likewise observe overprinting impacts when you yield to a composite printing gadget.
- Select Overprint Preview
- To conceal a partition ink on screen, click the eye symbol to one side of the division name. Snap again to see the partition.
- To see all procedure plates on the double, click the CMYK symbol.
- To come back to the ordinary view, deselect Overprint Preview.
- Print shading divisions
- Pick File > Print.
- Select a printer and PPD document. To print to a document rather than a printer, select Adobe PostScript File or Adobe PDF.
- Select Output on the left half of the Print exchange box.
- For Mode, select either Separation (Host-Based) or In-RIP Separations.
- Indicate an emulsion, picture presentation, and printer goals for the partitions.
- Set choices for the shading plates you need to isolate:
- To incapacitate printing of a shading plate, click the printer symbol alongside the shading in the Document Ink Options list. Snap again to reestablish printing for the shading.
- To change overall spot hues to process hues, with the goal that they are printed as a component of the procedure shading plates as opposed to on a different plate, select Convert All Spot Colors To Process.
- To change over an individual spot shading to process hues, click the spot shading symbol beside the shading in the Document Ink Options list. A four-shading process symbol shows up. Snap again to return the shading to a spot shading.
- Click Print color separations.