Logo Digitizing
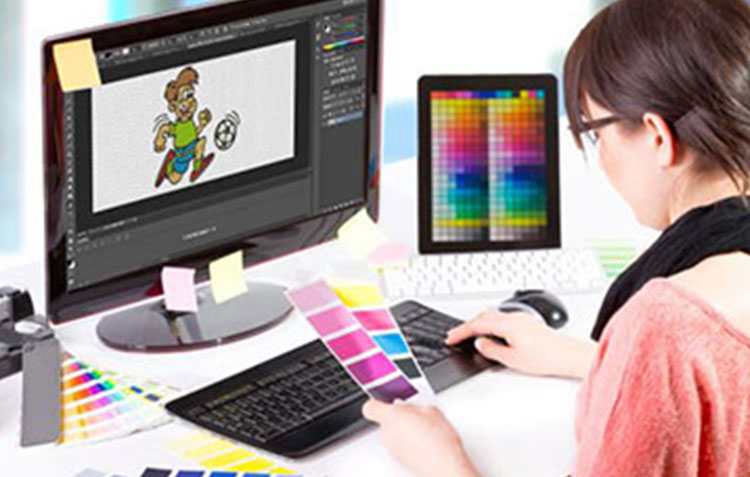
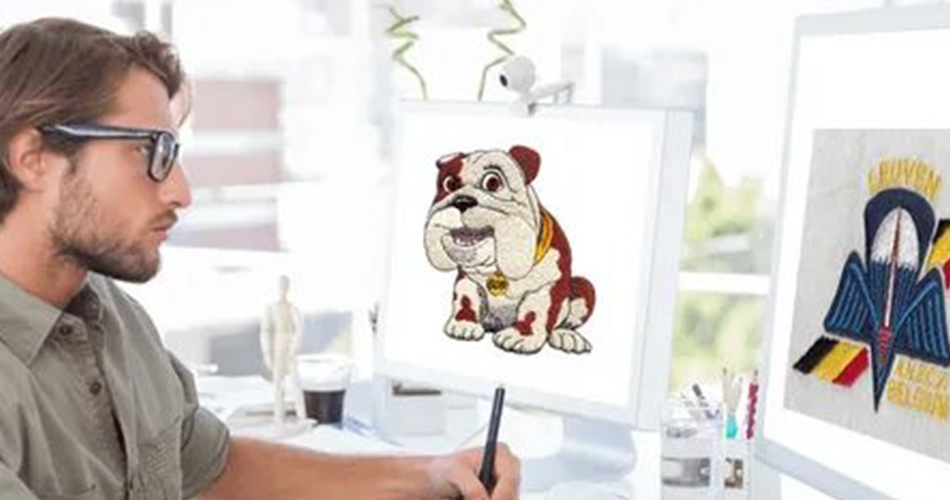
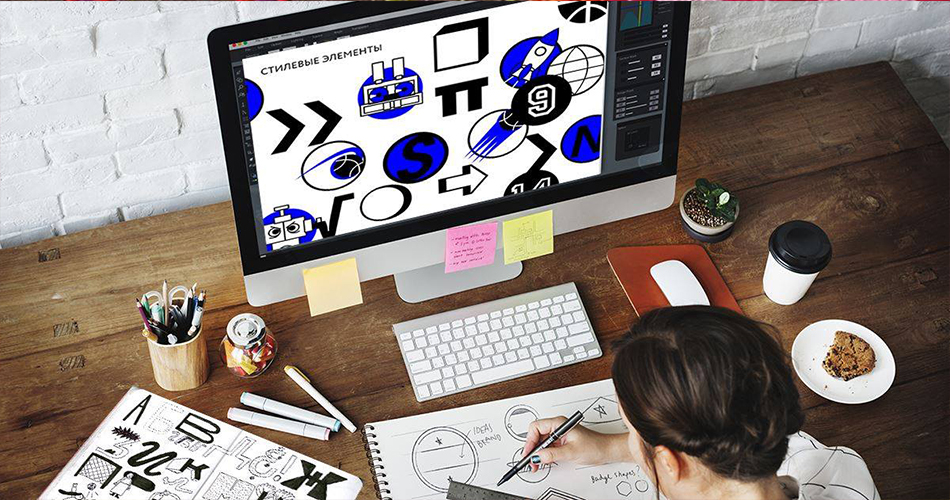
Logo digitizing is a process of digitizing a logo; this allows using the PNG or JPEG file logo and continuing using it on the embroidery machine. 'How do embellish a mark?' to ask. It's straightforward; one needs to learn how to make a digital logo for the machine to understand itself. One can do this by converting them into embroidery files. All files depend on the device at hand; they should use the right one to bring the best results. In digitalizing a logo, a few steps are needed to make the logo digital. In logo digitizing , the first step is to make Digitizing Software (Getting digitalized for photos, starting with a logo. If a person doesn't have one, consider using Logo tag or logo design software whether he wants a logo. He can find the appropriate method for the photo, real estate, building, and other product types. The second step is to set the proper size (Measure the sales area you want your logo to appear on.
Before you lock the image, ensure that you select your logo's correct dimensions and accuracy, as the final product will have the same design. Size over it). The third step is to Choose a Sewing Type (Manufacturers use different types of sewing to create different styles, textures, looks, etc. Fabric selection, push and pull fabric resistance, and the maximum stitching length are all factors to consider. Step 4 is to Stitch Direction (Establishing a sewing guide allows you to create a machining plan, this step is essential as the device needs instructions for all stitches.
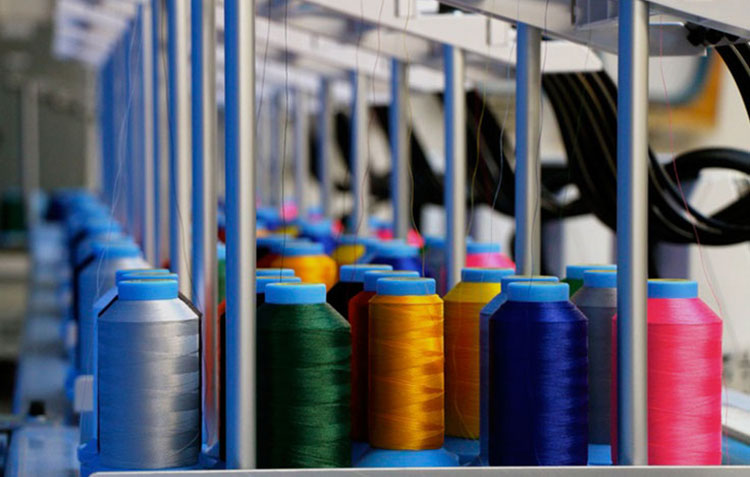
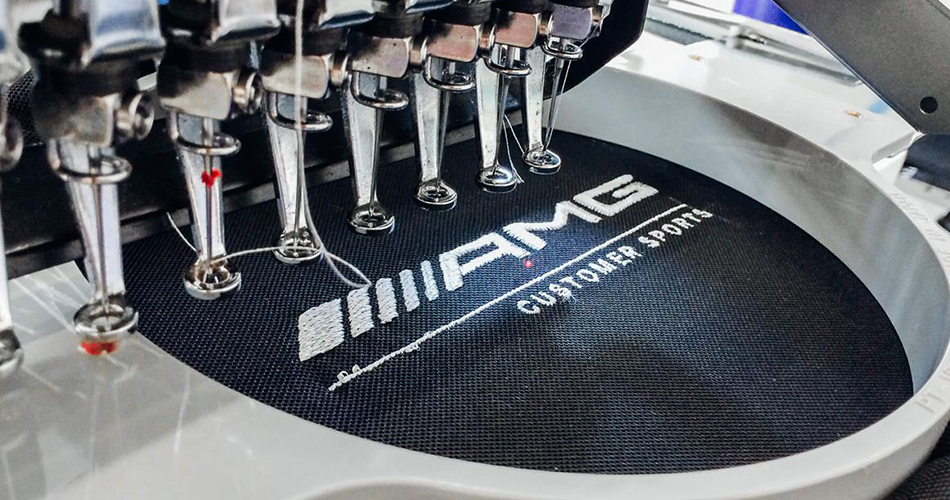
The sewing pattern can give the fabric different shades and textures to replicate the logo design. You should not skip this step as your final product skipped several times with a seamless pattern seam. The correct stitch will save an individual's cost of the threads and time too). In the digital design of the logo, step five is Embroidery Thread Colors (Choosing the right colors is as important as determining your fabric and type of stitching. Pantone for your logo should match the colors of the series chosen to use for embroidery). Digitize logo for embroidery online free The sixth step is to transfer and digitize the embroidery digitizing file. The transfer process is simple; you can accomplish this with a flashcard, a computer containing embroidery digitizing online software, or a USB cable.
This step is vital so that your filing machine can detect the file before you start performing its magic, make sure you select the appropriate file (type of machine). In the logging service, step seven is to fix the appliance. It should inform the device about the settings to be used for selecting threads, sewing patterns, needles, shapes, required thread colors, etc., depending on the type of seam and software you are using. You need to put your fabric or product on the frames/loops of the sewing machine while sliding them carefully on the machine arms).
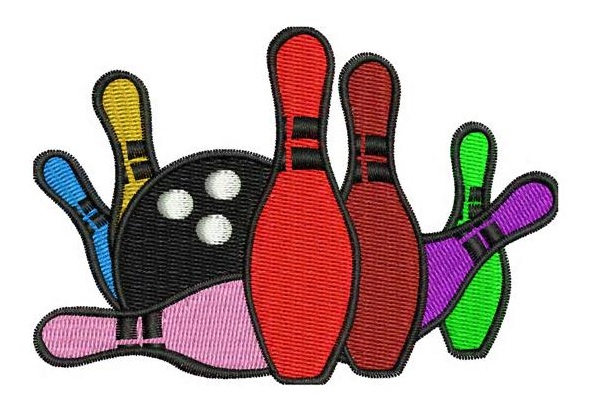
The Eight or Final Step in Logo Digitizing service is Sample Test (It is best to test your phone continuously while working with digital logo design. It does not take long, but it is crucial to do a final test and see if the design requires any last-minute changes before moving on to final product decoration). Now that you know the basics of logo digitizing look at a few reasons why you should consider getting your logo embroidered: its long-lasting, Boosts Brand Awareness, Unified Company Culture, Makes for Great Fundraising Items, and it's a Memorable Gifts.
Describe the basic process of logo digitizing?
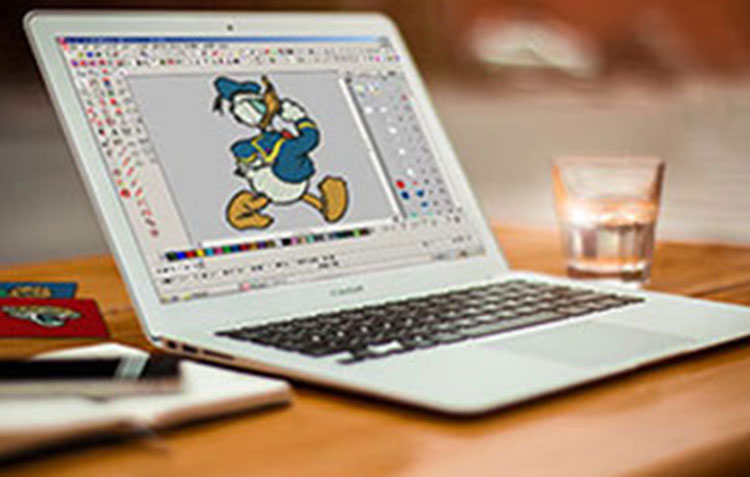
The pattern is saved as a digital file upon completion. Logo digitizing is a complex and technical process. Creating a digital logo requires highly trained people known as Digitizers and Punchers to make this progress successfully, leading to the best quality of the embroidery. All digital embroidery designs are carefully designed to ensure that the embroidery process runs smoothly. To digitize the logo, follow these steps
- Step 1: Upload Your Logo to Digital Software. This first step will automatically insert your logo or design file (JPG, PNG, etc.) into ...
- Step 2: Set Embroidery Design Size.
- Step 3: Choose Your Sewing Type.
- Step 4: Set Stitch Direction.
- Step 5: Set Your Decorative Colors. Extra items. The digitized logo cost varies depending on size and stitch count. The charges are typically average $20 to 30, but some can cost as much as $100.